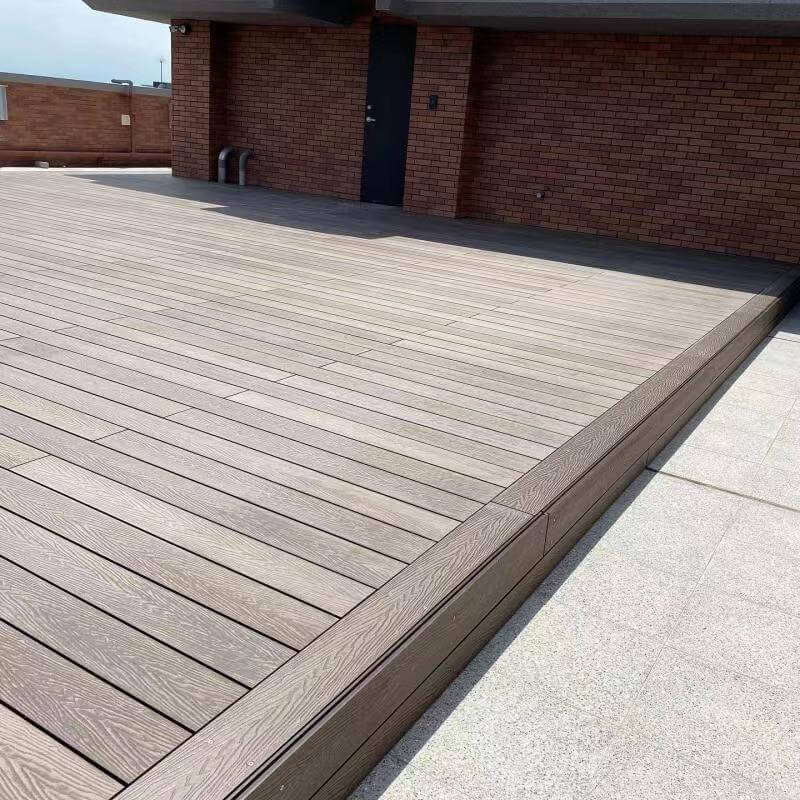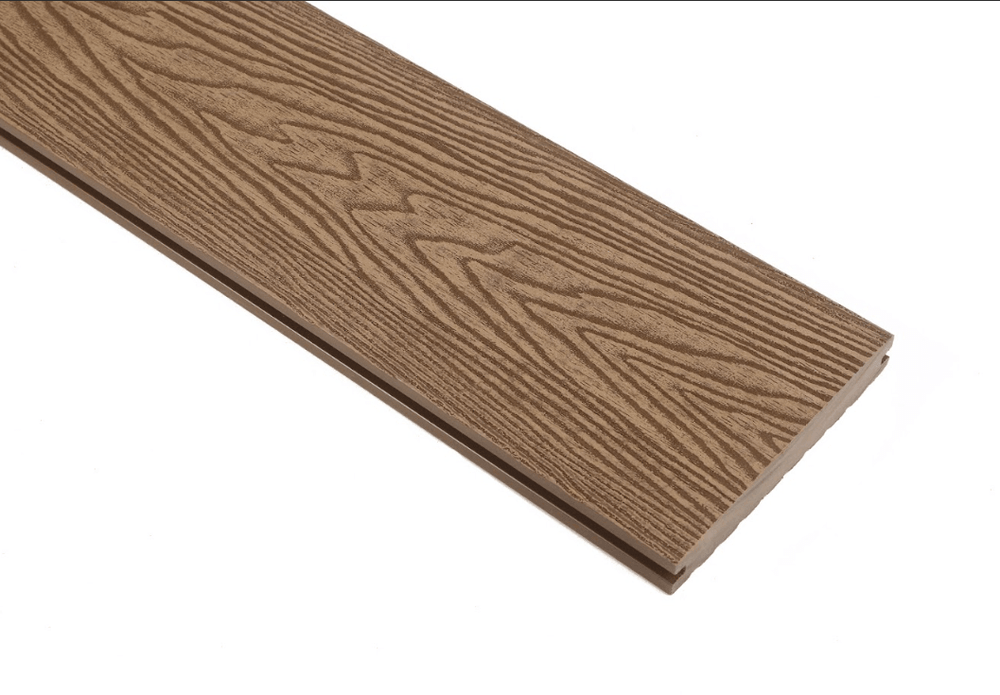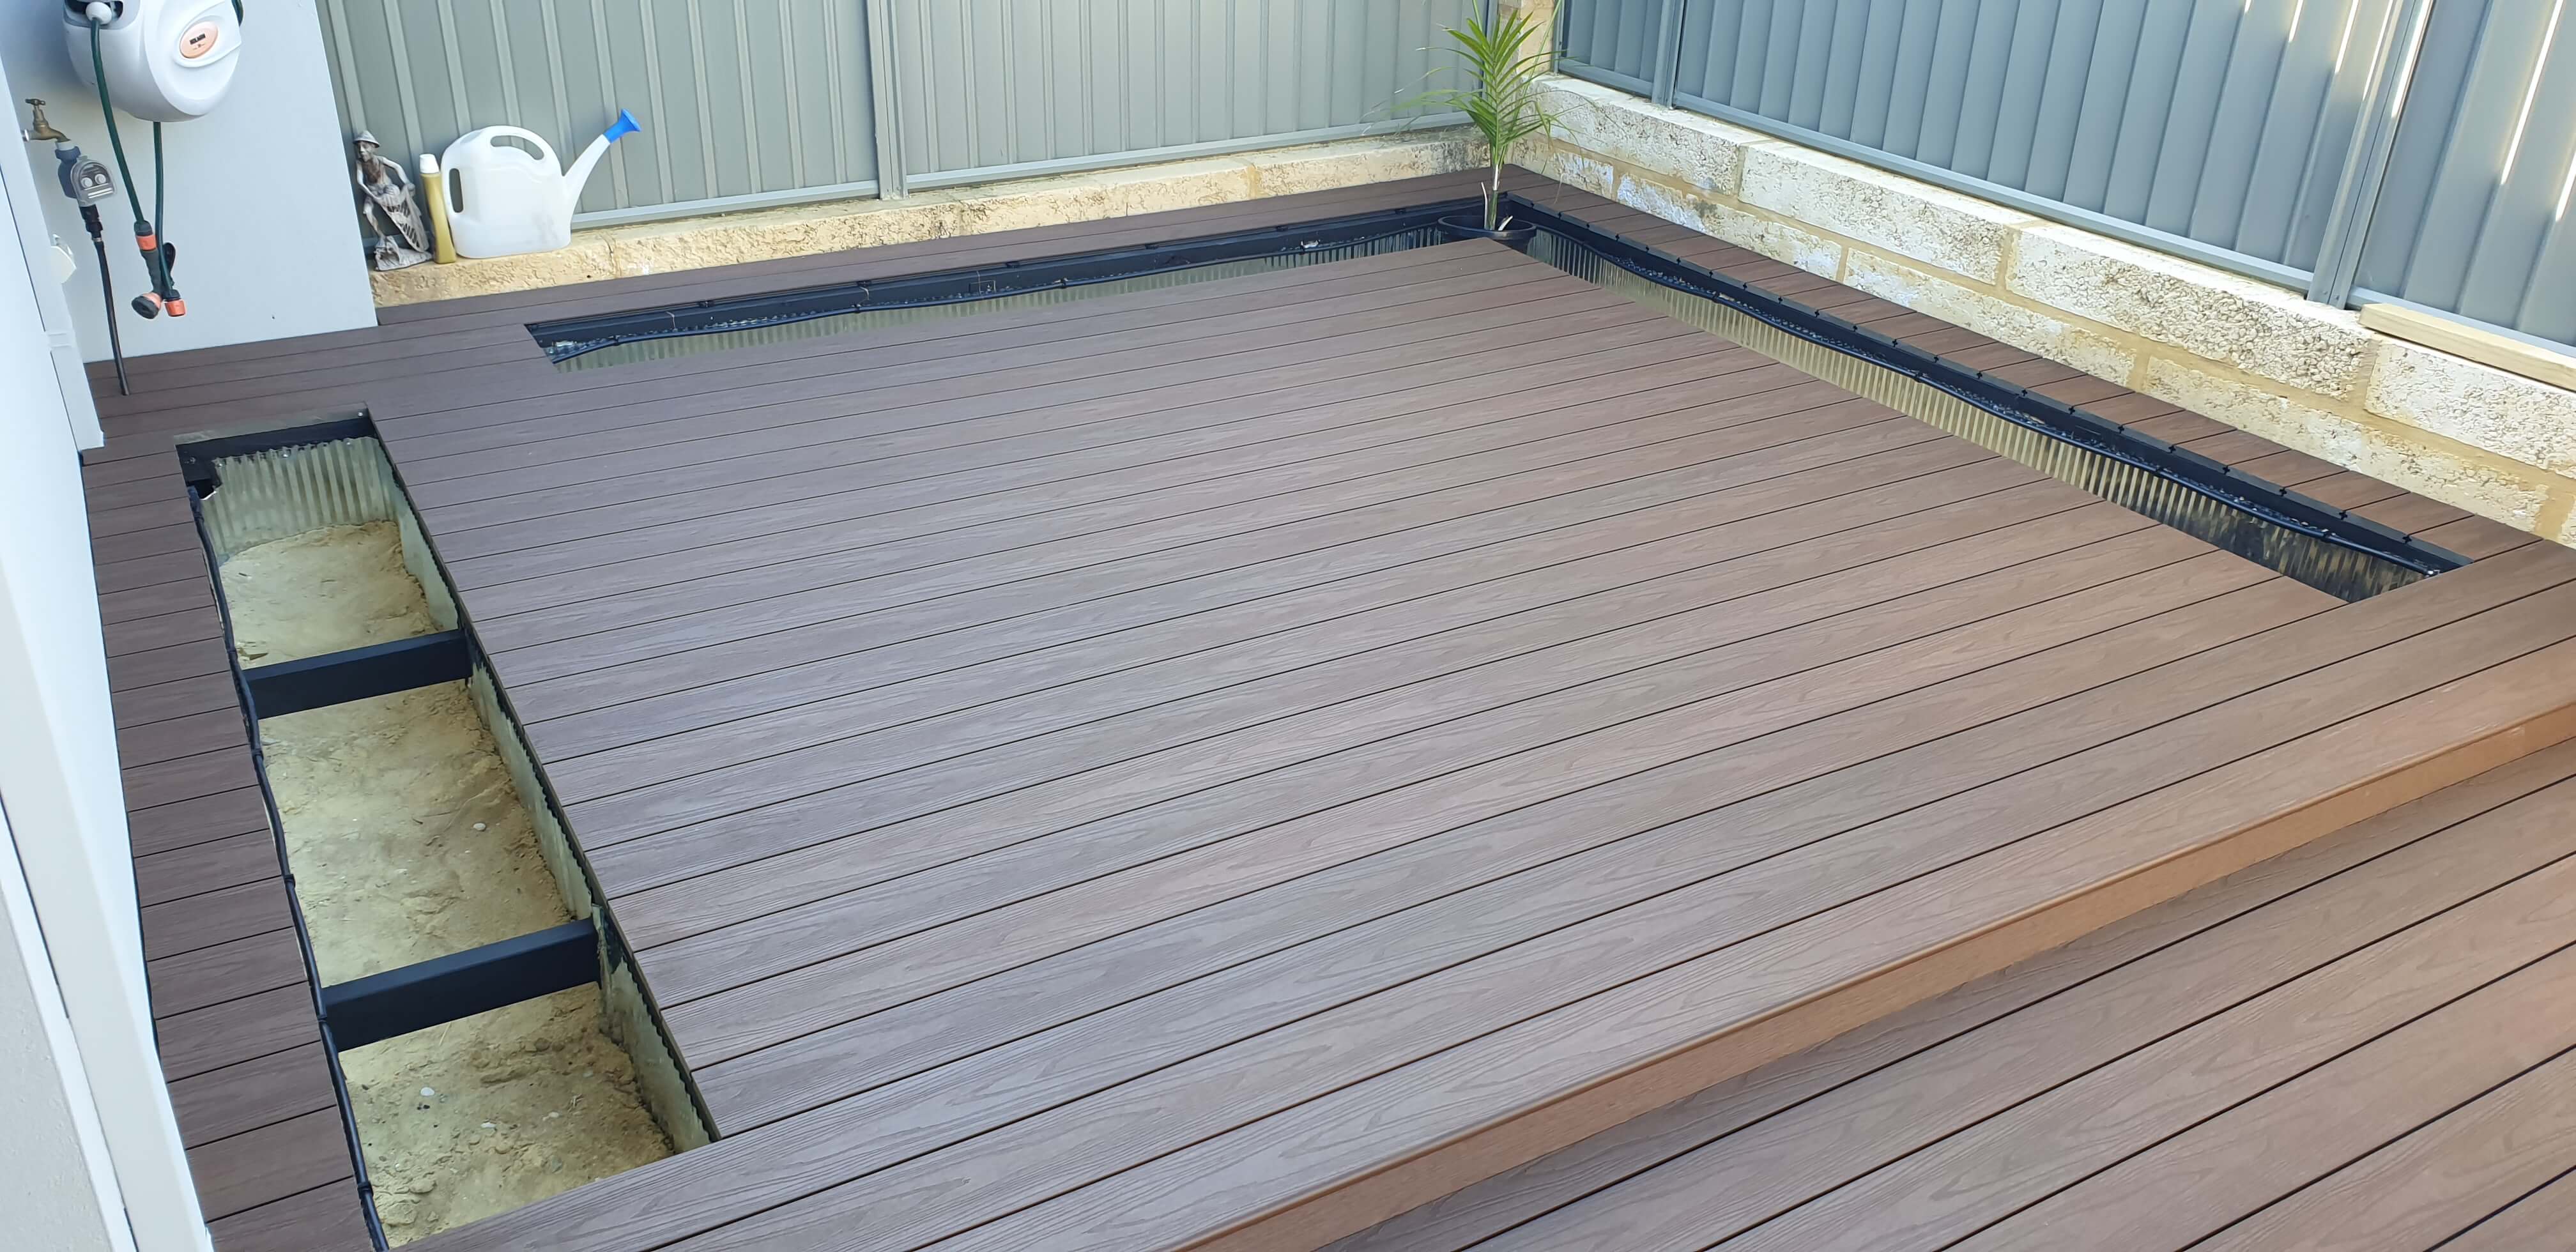


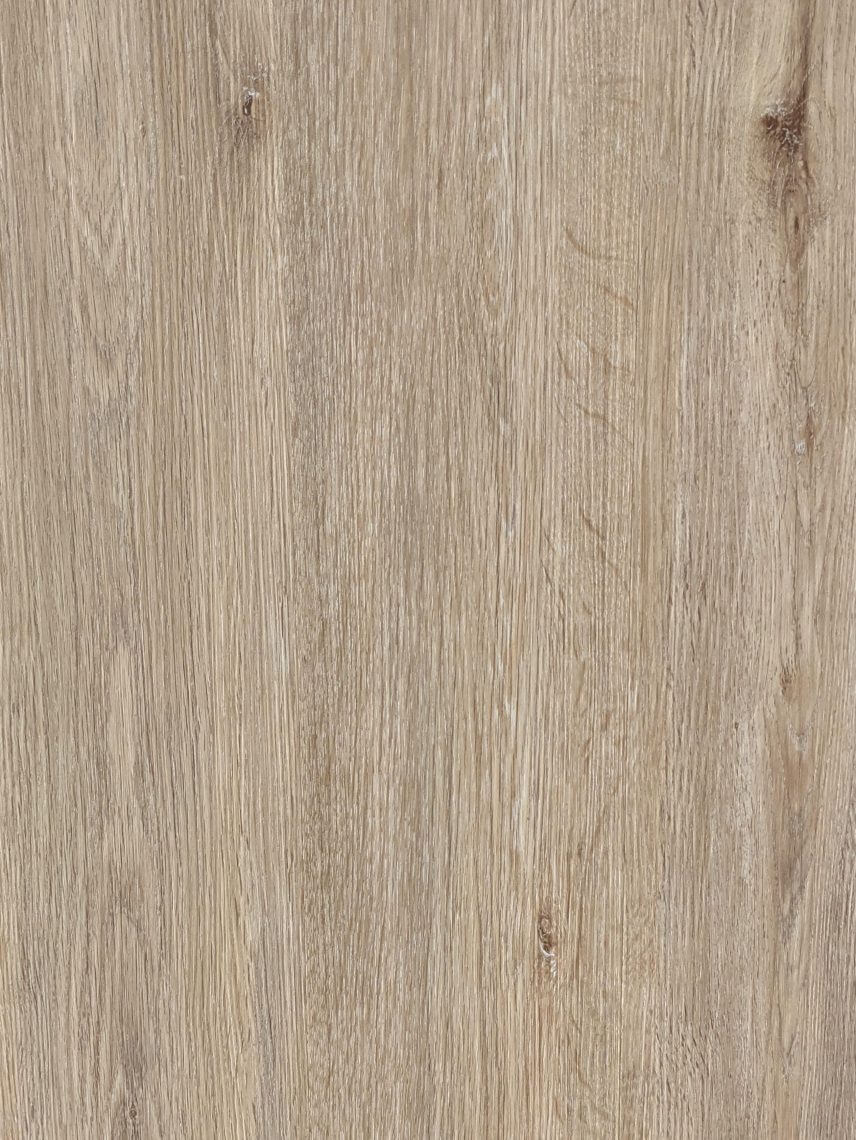
Classic Teak Solid Composite Decking Board 140mm x 20mm x 5400mm - Includes Clips & Screws - Available in Perth


Classic Teak Solid Composite Decking Board 140mm x 20mm x 5400mm - Includes Clips & Screws - Available in Perth
Regular price
$75.00
Regular price
Sale price
$75.00
/
Including GST
or 4 interest-free payments of $18.75 with Afterpay
Color:Classic Teak Solid
- In stock, ready to ship
Tax included. Shipping calculated at checkout.